What’s Slowing You Down in Jupyter – And How to Fix It
In the dynamic realms of data science and artificial intelligence (AI), Jupyter Notebook has emerged as an indispensable tool. Its interactive environment allows for seamless integration of code execution, visualization, and documentation, making it a favorite among professionals and researchers alike. However, as with any powerful tool, maximizing its potential requires a blend of skillful usage and the right supporting platforms. This article delves into how mastering Jupyter Notebook shortcuts, combined with leveraging SimplePod’s pre-configured environments, can significantly enhance your productivity.
What You’ll Learn in This Article
By the end of this article, you’ll understand:
- What Jupyter Notebook is and why it’s essential in AI and data science workflows.
- The most important Jupyter Notebook shortcuts and how to use them like a pro.
- How to find parameters in Jupyter Notebook using built-in tools.
- Why you don’t need to install Jupyter Notebook if you use SimplePod.
- How to run Jupyter Notebooks effortlessly using SimplePod’s pre-configured environment.
- How SimplePod enhances your productivity with a ready-to-code platform.
Let’s dive in.
Understanding Jupyter Notebook and Its Role in Data Science
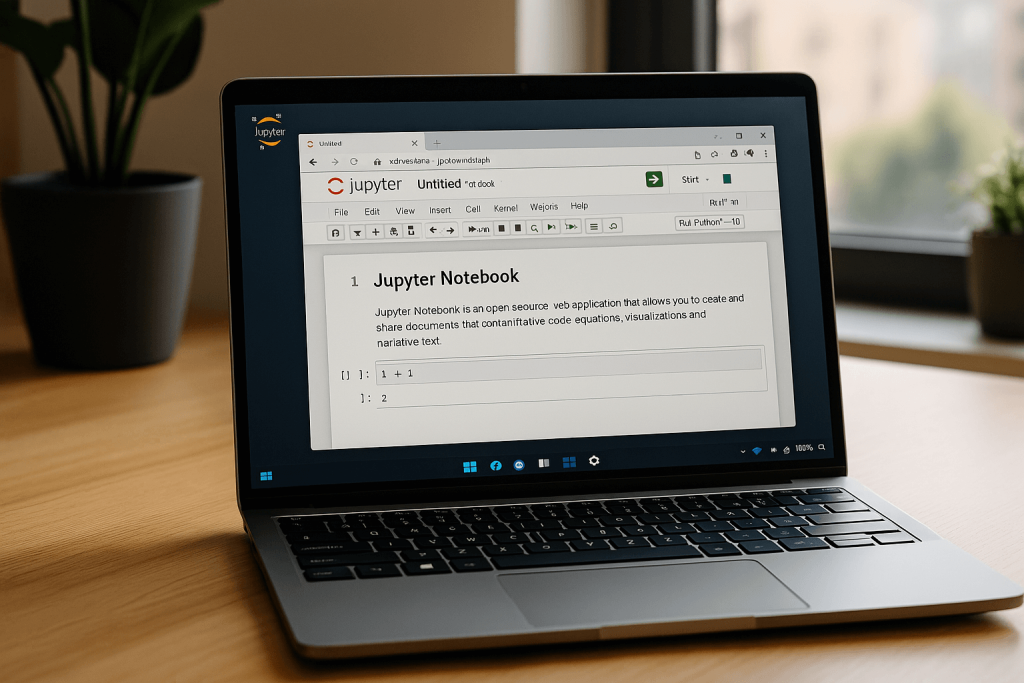
Jupyter Notebook is an open-source web application that enables users to create and share documents containing live code, equations, visualizations, and narrative text. Its versatility supports various programming languages, with Python being the most prominent. The platform’s ability to intertwine code and rich text makes it an ideal choice for tasks ranging from data cleaning and transformation to statistical modeling and machine learning.
Key Features:
- Interactive Code Execution: Run code in real-time and view outputs immediately.
- Rich Text Support: Incorporate Markdown, LaTeX, and HTML for comprehensive documentation.
- Data Visualization: Embed plots and charts directly within the notebook for intuitive data analysis.
- Modular Structure: Organize work into cells, allowing for segmented and organized coding.
Given its robust features, it’s no surprise that Jupyter Notebook has become a staple in the workflows of data scientists and AI researchers.

Enhancing Efficiency with Jupyter Notebook Shortcuts
Efficiency is paramount in data-driven projects. Jupyter Notebook offers a plethora of keyboard shortcuts designed to streamline operations and reduce reliance on mouse interactions. By mastering these shortcuts, users can significantly enhance their productivity.
Modes in Jupyter Notebook:
- Command Mode: Activated by pressing Esc, this mode allows users to perform notebook-level actions such as adding or deleting cells.
- Edit Mode: Activated by pressing Enter, this mode enables users to edit the content of cells.
Essential Shortcuts:
- Run Cell: Shift + Enter – Executes the current cell and moves to the next one.
- Run Cell and Stay: Ctrl + Enter – Executes the current cell without moving to the next.
- Insert Cell Above: A – Adds a new cell above the current one.
- Insert Cell Below: B – Adds a new cell below the current one.
- Delete Cell: D, D (press ‘D’ twice) – Removes the selected cell.
- Change Cell to Code: Y – Converts the current cell to a code cell.
- Change Cell to Markdown: M – Converts the current cell to a Markdown cell.
By integrating these shortcuts into your routine, you can navigate and manipulate notebooks with greater speed and precision.
Navigating Function Parameters in Jupyter Notebook
Understanding function parameters is crucial for effective coding. Jupyter Notebook offers intuitive methods to access this information without disrupting your workflow.
Techniques to Access Parameter Information:
- Tooltips with Shift + Tab:
- Place the cursor inside the parentheses of a function and press Shift + Tab. A tooltip will appear, displaying the function signature and docstring.
- Pressing Shift + Tab multiple times expands the tooltip for more detailed information.
- Using the ? Operator:
- Appending a question mark to a function name (e.g., function_name?) and executing the cell will display the function’s docstring in the pager below the code cell.
- The ?? Operator:
- Using double question marks (e.g., function_name??) reveals the source code of the function, if available.
These methods ensure that you can quickly retrieve necessary information about functions, enhancing coding efficiency and accuracy.
Simplifying Jupyter Notebook Setup with SimplePod
Traditional setups of Jupyter Notebook often involve multiple steps: installing Python, managing dependencies, and configuring environments. While this process offers customization, it can be time-consuming and prone to compatibility issues.
Challenges with Traditional Installation:
- Dependency Management: Ensuring that all required libraries and packages are correctly installed.
- Environment Configuration: Setting up virtual environments to avoid conflicts between projects.
- System Compatibility: Addressing issues that arise from different operating systems and hardware configurations.
SimplePod addresses these challenges by offering pre-configured, cloud-based Jupyter Notebook environments. This approach eliminates the need for local installations, allowing users to access a ready-to-use platform instantly.
Advantages of SimplePod’s Approach:
- Immediate Access: Launch Jupyter Notebooks without any setup.
- Consistency: Uniform environments reduce the risk of errors caused by mismatched dependencies across different systems.
- Cloud Accessibility: Work from anywhere without worrying about local hardware limitations.
By leveraging SimplePod, users can focus more on their projects and less on the intricacies of environment setup.
Effortless Execution: Running Jupyter Notebooks with SimplePod
Let’s be honest—setting up Jupyter Notebook might look simple at first glance. You install Python, run a few commands in the terminal, and voilà… right?
Not quite.
Here’s what the traditional process really looks like:
- Open the terminal (and hope Python is correctly installed).
- Navigate to your project folder (assuming the paths are correct).
- Set up or activate a virtual environment.
- Install Jupyter Notebook with pip or conda (and cross your fingers for no dependency errors).
- Type jupyter notebook and wait for it to open in the browser.
- Then manually find and open your file.
And if something goes wrong—like a broken package, outdated library, or version conflict—get ready to spend hours Googling errors and reinstalling tools. What starts as a 5-minute task can easily stretch into half your afternoon.
Setting up Jupyter Notebook on your own might seem simple—until you actually do it. Installing Python, setting up environments, resolving package conflicts, launching servers… it all adds up. What should take minutes can easily eat up your afternoon.
With SimplePod, the entire process is compressed into a few intuitive steps:
- Log into your account
- Choose a pre-configured template (Jupyter, TensorFlow, PyTorch—you name it)
- Rent the computing power you need
- Click “Run”, and your notebook launches in the cloud—fully set up, fully loaded
You don’t have to install a thing. No setup, no commands, no headaches.
Need a full walkthrough?
Here’s a simple step-by-step guide on how to launch notebooks with SimplePod
Why You Don’t Need to Install Jupyter Notebook Anymore
Let’s be honest—how many of us have Googled “how to install Jupyter Notebook” and ended up in a rabbit hole of tutorials, package conflicts, and error messages? It’s an all-too-common struggle, especially for newcomers.
SimplePod.ai eliminates the need for:
- Installing Anaconda or managing pip installs.
- Creating virtual environments to isolate dependencies.
- Dealing with conflicting library versions.
- Repeating setup steps across multiple machines.
Everything is stored in the cloud, ready to launch. The goal? Make Jupyter Notebook available instantly—no downloads, no delays.

SimplePod: Your AI Workspace with Superpowers
Beyond simplifying access to Jupyter Notebooks, SimplePod.ai offers a powerful environment built specifically for AI researchers, data scientists, and developers.
Here’s what makes it stand out:
- Pre-Built Templates: Start your projects using pre-made Jupyter templates for machine learning, data analysis, and NLP tasks.
- GPU/TPU Acceleration: Need to train large models? SimplePod gives you access to hardware acceleration—without configuring a single line.
- Version Control: Integrated Git support lets you manage versions and collaborate seamlessly.
- Notebook Snapshots: Save and restore notebook states, helpful for experiments and iterations.
- Team Collaboration: Invite colleagues to work on the same notebook—real-time changes, one shared environment.
Instead of just launching a notebook, SimplePod gives you a ready-to-go AI workspace—complete with built-in tools, pre-installed libraries, GPU access, and smart features that help you code faster, experiment freely, and collaborate in real time.
Real-World Use Case
Let’s say you’re building a machine learning model to predict energy consumption. You need:
- A clean Python environment with pandas, scikit-learn, and matplotlib.
- Ability to visualize and tune parameters quickly.
- A way to share results with your team.
With a traditional Jupyter Notebook setup, this might take hours. With SimplePod?
- You launch your environment in 10 seconds.
- The required packages are already installed.
- You use Shift + Tab to explore function parameters.
- You run experiments in cells, compare results side-by-side, and share the link instantly.
It’s that easy.
Conclusion
In today’s AI-driven world, speed, agility, and clarity are crucial. Jupyter Notebook gives you the platform—but mastering it requires more than knowing where to type your code.
With this article, you’ve learned how to:
- Use Jupyter Notebook more effectively with shortcuts and commands that save time.
- Find parameters in Jupyter Notebook easily using built-in features.
- Avoid installation pain by switching to a cloud-based, pre-configured solution.
- Run notebooks instantly thanks to SimplePod’s clean, zero-setup experience.
- Enhance your productivity with tools built specifically for AI development.
Whether you’re an experienced researcher or just getting started in data science, using SimplePod with Jupyter Notebook takes your productivity to the next level.
Frequently Asked Questions (FAQs)
1. Do AI researchers actually use Jupyter Notebooks?
Absolutely—every single day. Jupyter Notebooks have become a staple in the AI and machine learning community. Why? Because they make it incredibly easy to combine live code, outputs, charts, and notes all in one place. Whether you’re testing new models, visualizing data, or documenting experiments, Jupyter is often the tool of choice for researchers and data scientists alike.
2. How can I find function parameters in Jupyter Notebook?
Super simple. If you ever find yourself wondering what parameters a function takes, just type the function name, open the parentheses, and press Shift + Tab. A helpful tooltip will pop up. Want more details? Try function_name? to get the full documentation or function_name?? to peek under the hood and see the source code. It’s like having a built-in assistant inside your notebook.
3. What’s the easiest way to run a notebook on SimplePod?
Forget about command lines or technical setup. With SimplePod, it really is as easy as:
- Logging in to your account
- Clicking “Launch Notebook”
- Starting your work immediately
Everything is ready for you—Jupyter, Python, libraries.
4. Can I use Jupyter Notebook without installing it?
Yes, and that’s one of the best parts about SimplePod. You don’t need to install anything—no Python, no packages, no Jupyter setup. Just sign in, and your cloud-hosted notebook is good to go. It’s perfect for anyone who wants to skip the tech headaches and get straight to coding.
5. What are the most useful Jupyter Notebook shortcuts for beginners?
Here are five keyboard shortcuts that’ll make your life way easier:
- Shift + Enter – Run the current cell and move to the next one
- A / B – Add a new cell above (A) or below (B)
- D, D – Quickly delete a cell (just press D twice)
- M / Y – Convert a cell to Markdown (M) or back to code (Y)
- Ctrl + S – Save your notebook manually (even though autosave has your back)
Master just these, and you’ll already be moving through your notebooks like a pro.


