Introduction
AI-driven image generation is transforming the creative landscape. From artists and designers to researchers and developers, many are exploring how artificial intelligence can bring visuals to life using only text prompts. One tool leading this revolution is ComfyUI — a modular, node-based interface designed to work seamlessly with Stable Diffusion models.
But like many powerful tools, getting started can be daunting, especially for beginners unfamiliar with its structure. That’s where Simplepod.ai steps in. By offering a pre-configured version of ComfyUI, Simplepod.ai eliminates the need for complex setup, letting users focus entirely on creativity.
This article serves as your complete ComfyUI tutorial — whether you’re a curious newcomer or a seasoned tech enthusiast looking to expand your creative toolset.
What You Will Learn in This Article
- How to navigate ComfyUI’s interface using a pre-configured setup
- What ComfyUI Manager is and how it simplifies your workflow
- How to build your first AI image workflow using ready-made tools
- Which custom nodes are best to start with — and how to use them
- Pro tips for optimizing your AI image generation experience
- How Simplepod.ai supports your journey with zero installation required
What is ComfyUI?
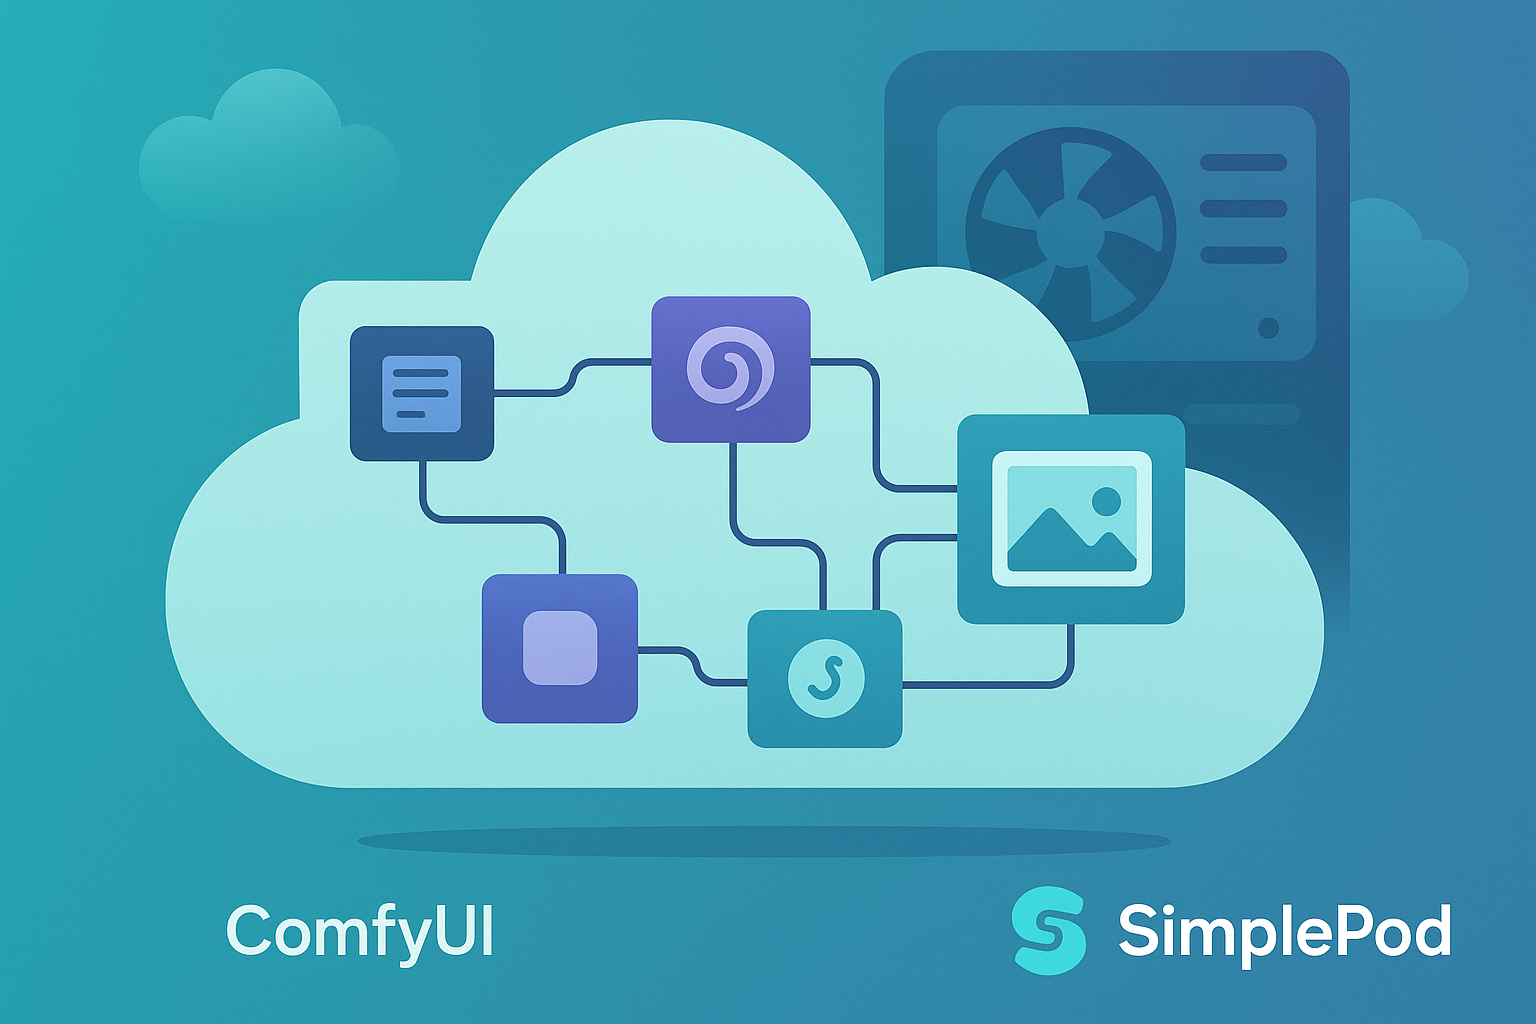
ComfyUI is an open-source, node-based interface designed to control and visualize AI-driven image generation processes. Instead of navigating through command lines or endless scripts, users can drag and connect blocks — called nodes — to form logical, visual workflows.
Each node performs a specific task: importing a model, writing a prompt, selecting sampling settings, or generating an image. These nodes combine into a workflow — a visual representation of how an image is created from start to finish.
Why it’s loved by the AI community:
- Visual editing: Intuitive drag-and-drop functionality
- Transparency: See exactly how inputs affect outputs
- Customization: Add or modify nodes to experiment endlessly
- Performance: Optimized for speed and scalability
Why Use a Pre-Configured ComfyUI from Simplepod.ai
If you’ve read online tutorials about installing ComfyUI, you may have encountered multiple steps: downloading code, installing dependencies like Python, troubleshooting environment errors, and manually updating packages.
Simplepod.ai eliminates all that. Our cloud-hosted, fully-configured ComfyUI gives users immediate access to a working platform. Whether you’re testing out prompt-to-image workflows or exploring fine-tuned models, Simplepod lets you skip the headaches and focus on what matters: results.
Benefits of Simplepod’s Pre-Configured ComfyUI:
- No installation or environment setup
- Comes with popular ComfyUI Manager pre-installed
- Access to curated ComfyUI workflows
- Regular updates and backend optimization handled for you
- Cloud-based infrastructure for consistent performance
Navigating the ComfyUI Interface
Whether you’re using ComfyUI on your own machine or via Simplepod.ai, the layout is the same:
🔹 Node Editor
This is your main workspace. Nodes can be dragged, connected, edited, or deleted here. Each workflow starts and ends in this canvas.
🔹 Sidebar
This panel contains categories of available nodes — from prompts and model loaders to control settings and output options.
🔹 Preview Window
As you run workflows, this section shows your image outputs. Perfect for tweaking and rapid iteration.
Tip: On Simplepod.ai, many common workflows are pre-saved — just load and run them to see how things work before customizing.
Introducing ComfyUI Manager
One of the most useful enhancements in any ComfyUI tutorial is learning to use the ComfyUI Manager. It acts like an advanced control center, giving you a graphical way to manage everything from models and nodes to workflow libraries.
With ComfyUI Manager, you can:
- Enable or disable installed plugins
- Easily download custom nodes or extensions
- Search for models, samplers, or prompt history
- Access detailed information about every element in your setup
Best part? On Simplepod.ai, it’s already set up and ready to use. No config files. No command lines.
Creating Your First Workflow in ComfyUI
Here’s how to start creating your own AI image — even if you’re a total beginner:
Step 1: Load a base model
Start by dragging in a Checkpoint Loader node. This node loads a Stable Diffusion model (e.g., SD 1.5 or SDXL).
Step 2: Add a prompt node
Use the CLIP Text Encode node to input your creative prompt (e.g., “A futuristic cityscape at dusk”).
Step 3: Connect a sampler
Choose a KSampler node, which determines how the image is generated from your prompt.
Step 4: Link it to a decoder
Use a VAE Decoder node to convert latent data into viewable imagery.
Step 5: Output
End with an Image Save or Preview node to display your result.
On Simplepod.ai, many of these steps are automated or templated for you — so you can generate in minutes.
Best ComfyUI Custom Nodes to Use
One major benefit of ComfyUI is its expandability. With custom nodes, you can add entirely new capabilities to your workflows. Here are the best ComfyUI custom nodes to try first:
🔹 WAS Node Suite
A toolbox of filters, effects, and automation helpers. Great for refining and experimenting.
🔹 ControlNet Nodes
Use these to guide your image generation with reference images, depth maps, or poses. Ideal for structure-preserving tasks.
🔹 Face Detailer & Upscaler
Boost image resolution and facial detail quality — a must for portraits and close-ups.
🔹 LoRA Loader
Use Low-Rank Adaptation models to import unique styles or subjects. Adds a new level of customization.
Using Simplepod.ai? These nodes are already available — just add them to your workflow!
Pro Tips for Getting the Most from ComfyUI
- Use community templates: Explore GitHub, Reddit, or Simplepod’s library for shared workflows
- Organize your canvas: Group related nodes for better clarity
- Experiment with seeds: The same prompt can yield different results with seed changes
- Try multi-prompting: Create two
CLIP Text Encodenodes for complex ideas - Save often: Back up workflows and export to reuse later
Why Choose Simplepod.ai for Your ComfyUI Journey
If you’re serious about AI art, speed and convenience matter. Simplepod.ai provides:
- Instant access to a full-featured ComfyUI instance
- Pre-installed custom nodes and optimized pipelines
- Cloud performance for fast generation (even with SDXL)
- Support and community resources
- Scalable plans from casual creators to enterprise teams
Whether you’re building a portfolio, training new models, or prototyping AI applications, Simplepod removes the friction — so you can build, iterate, and launch faster.
Conclusion
So now you know how to start with ComfyUI — and why it’s worth your time. With its visual, node-based structure and deep customization, it’s the ideal tool for mastering AI image generation. Whether you’re exploring creative prompts or developing advanced workflows with custom nodes, ComfyUI puts the power of AI in your hands.
And if you’d prefer to skip setup and get straight to creating? Simplepod.ai is the easiest way to get started. It’s fast, flexible, and built for creators who want results, not roadblocks.
Start creating with ComfyUI — without installation — today at Simplepod.ai.
FAQs
What is ComfyUI used for?
It’s used for generating images with Stable Diffusion via a node-based interface that allows for modular workflows.
Do I need a powerful computer to run it?
Locally, yes — especially for high-res images. But with Simplepod.ai, you can generate from the cloud without hardware limits.
Can I use my own models and nodes?
Yes. With ComfyUI Manager, uploading and managing new content is simple — and already integrated on Simplepod.
Is it beginner-friendly?
Absolutely. Especially using templates, pre-built workflows, and platforms like Simplepod.ai.


I was suggested this blog by my cousin. I am not sure whether this post is written by him as no one else know such detailed about my problem.
You are incredible! Thanks!
Hi! I simply would like to offer you a big
thumbs up for your excellent information you have got here on this post.
I’ll be returning to your web site for more soon.